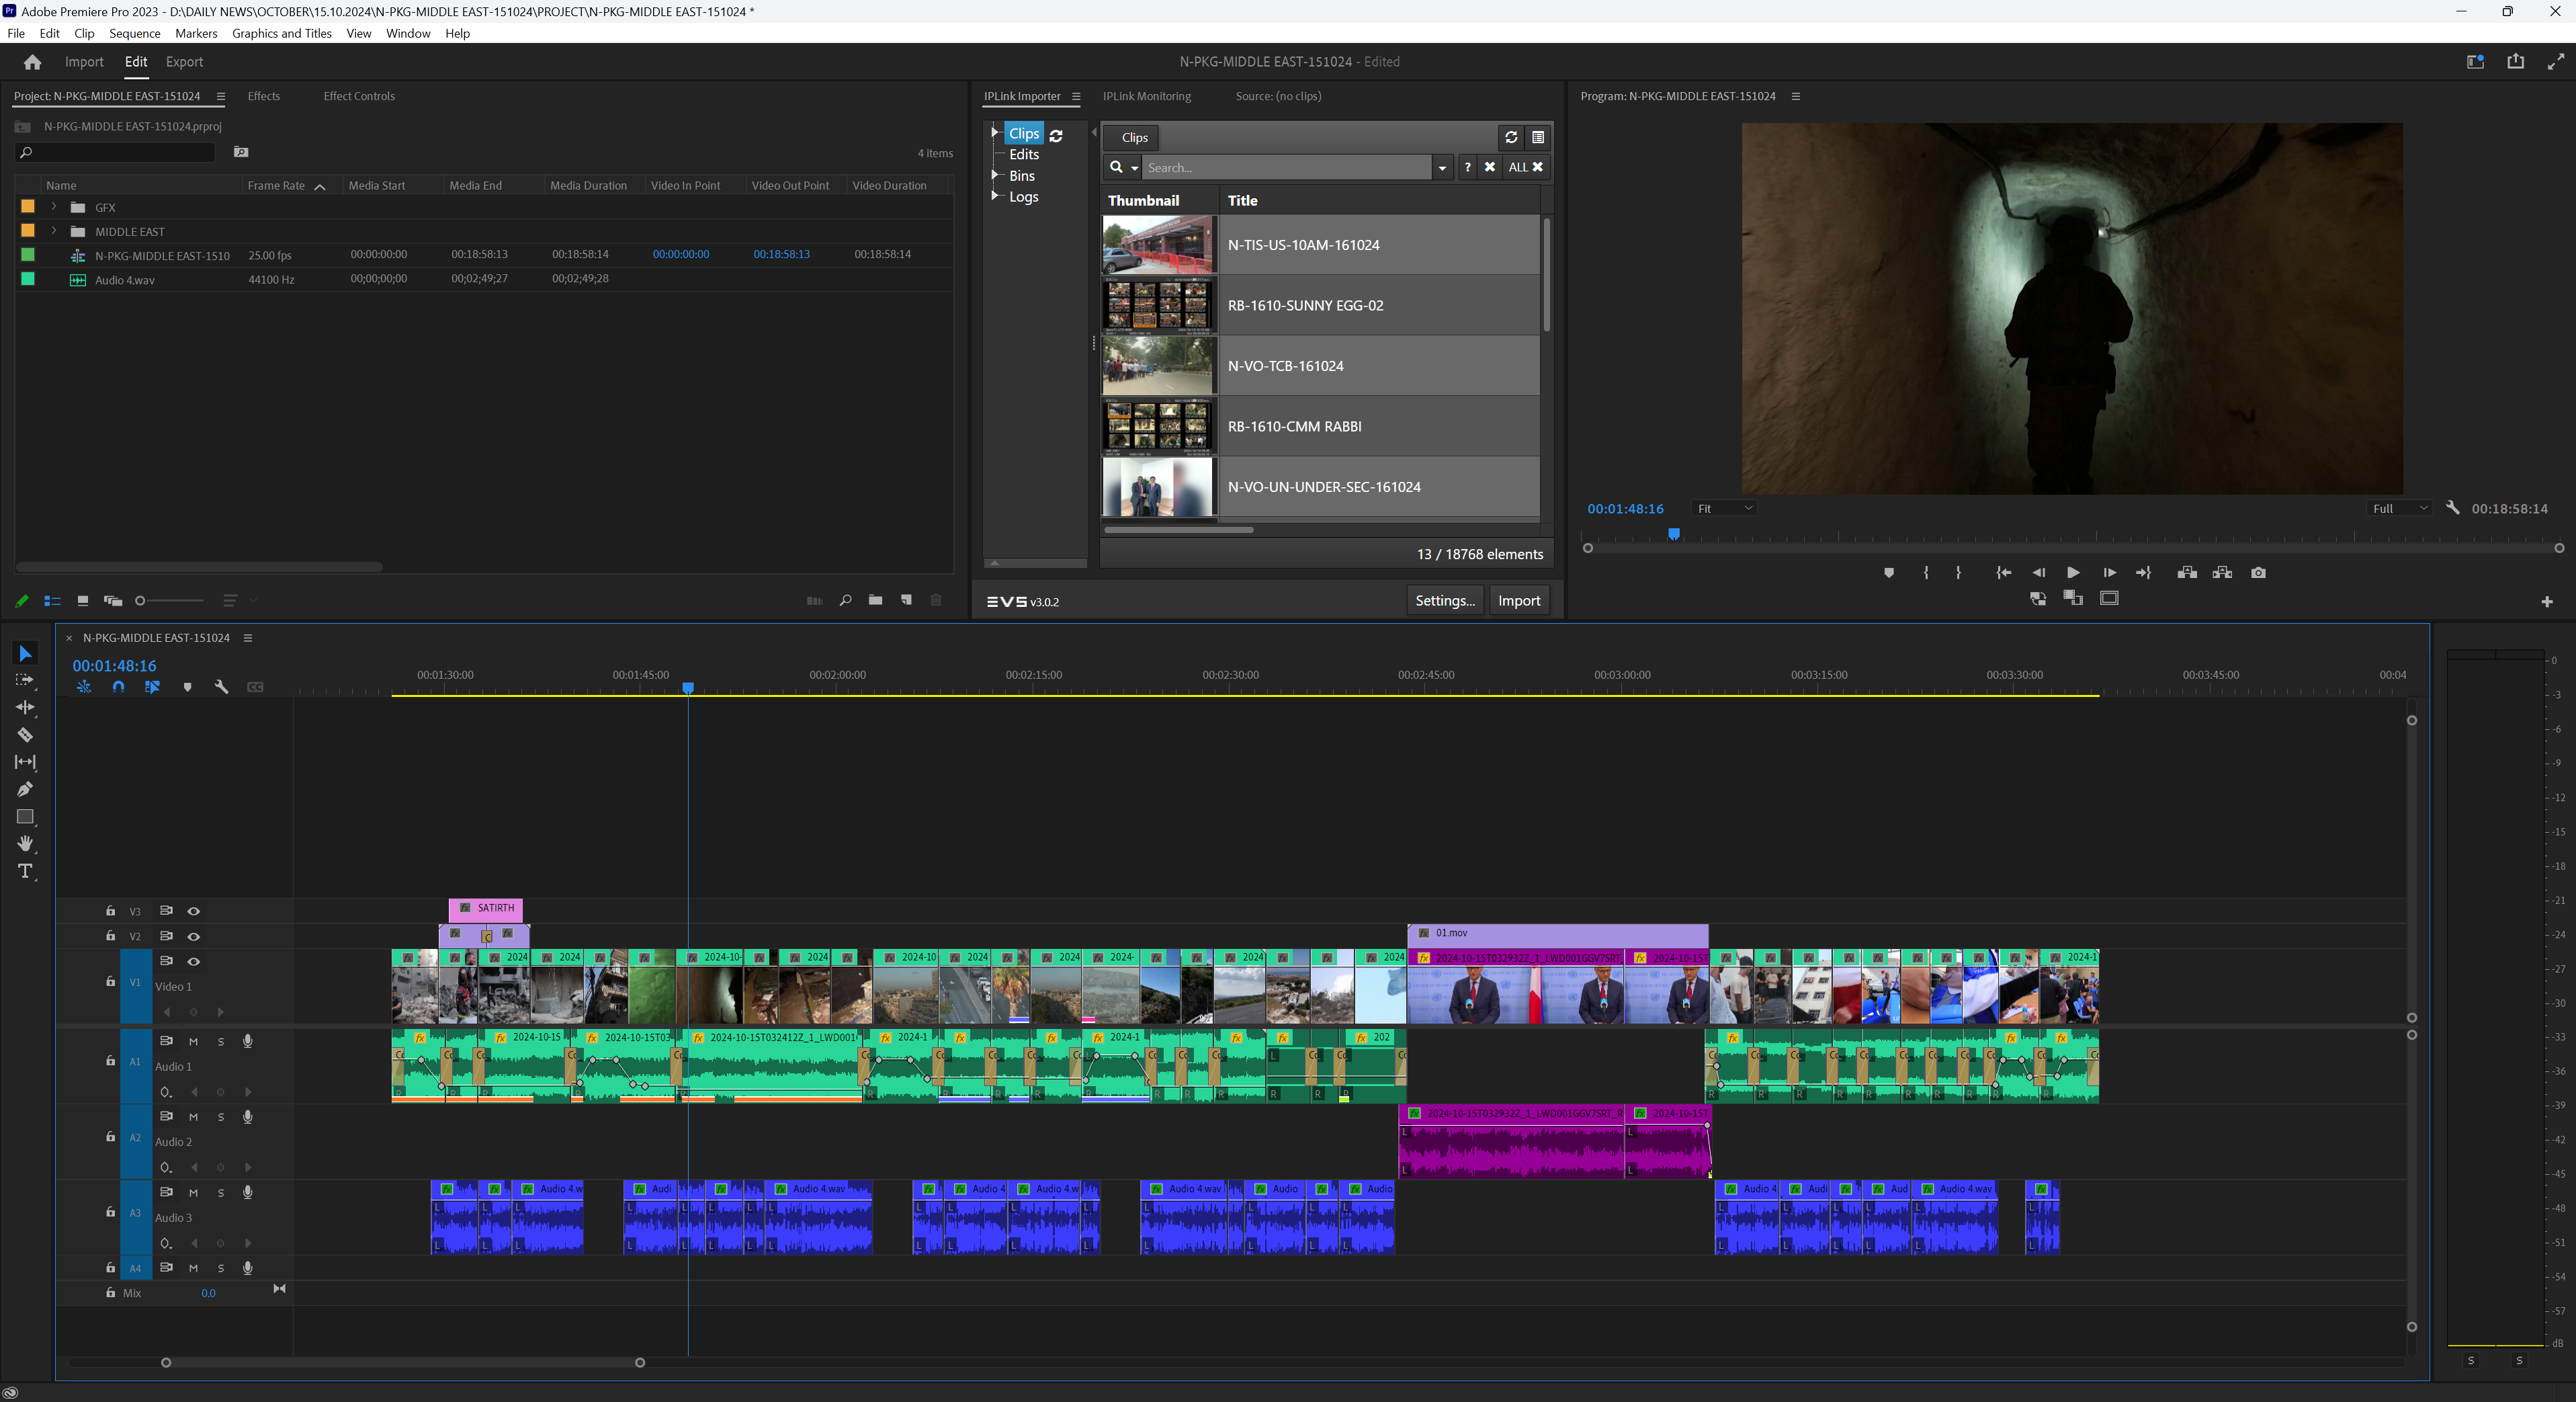
We’re going to talk about our course. We’re going to fix the color, fix the audio, add some lower thirds, and add some background music. Let’s get started and figure out our way around Premiere Pro.
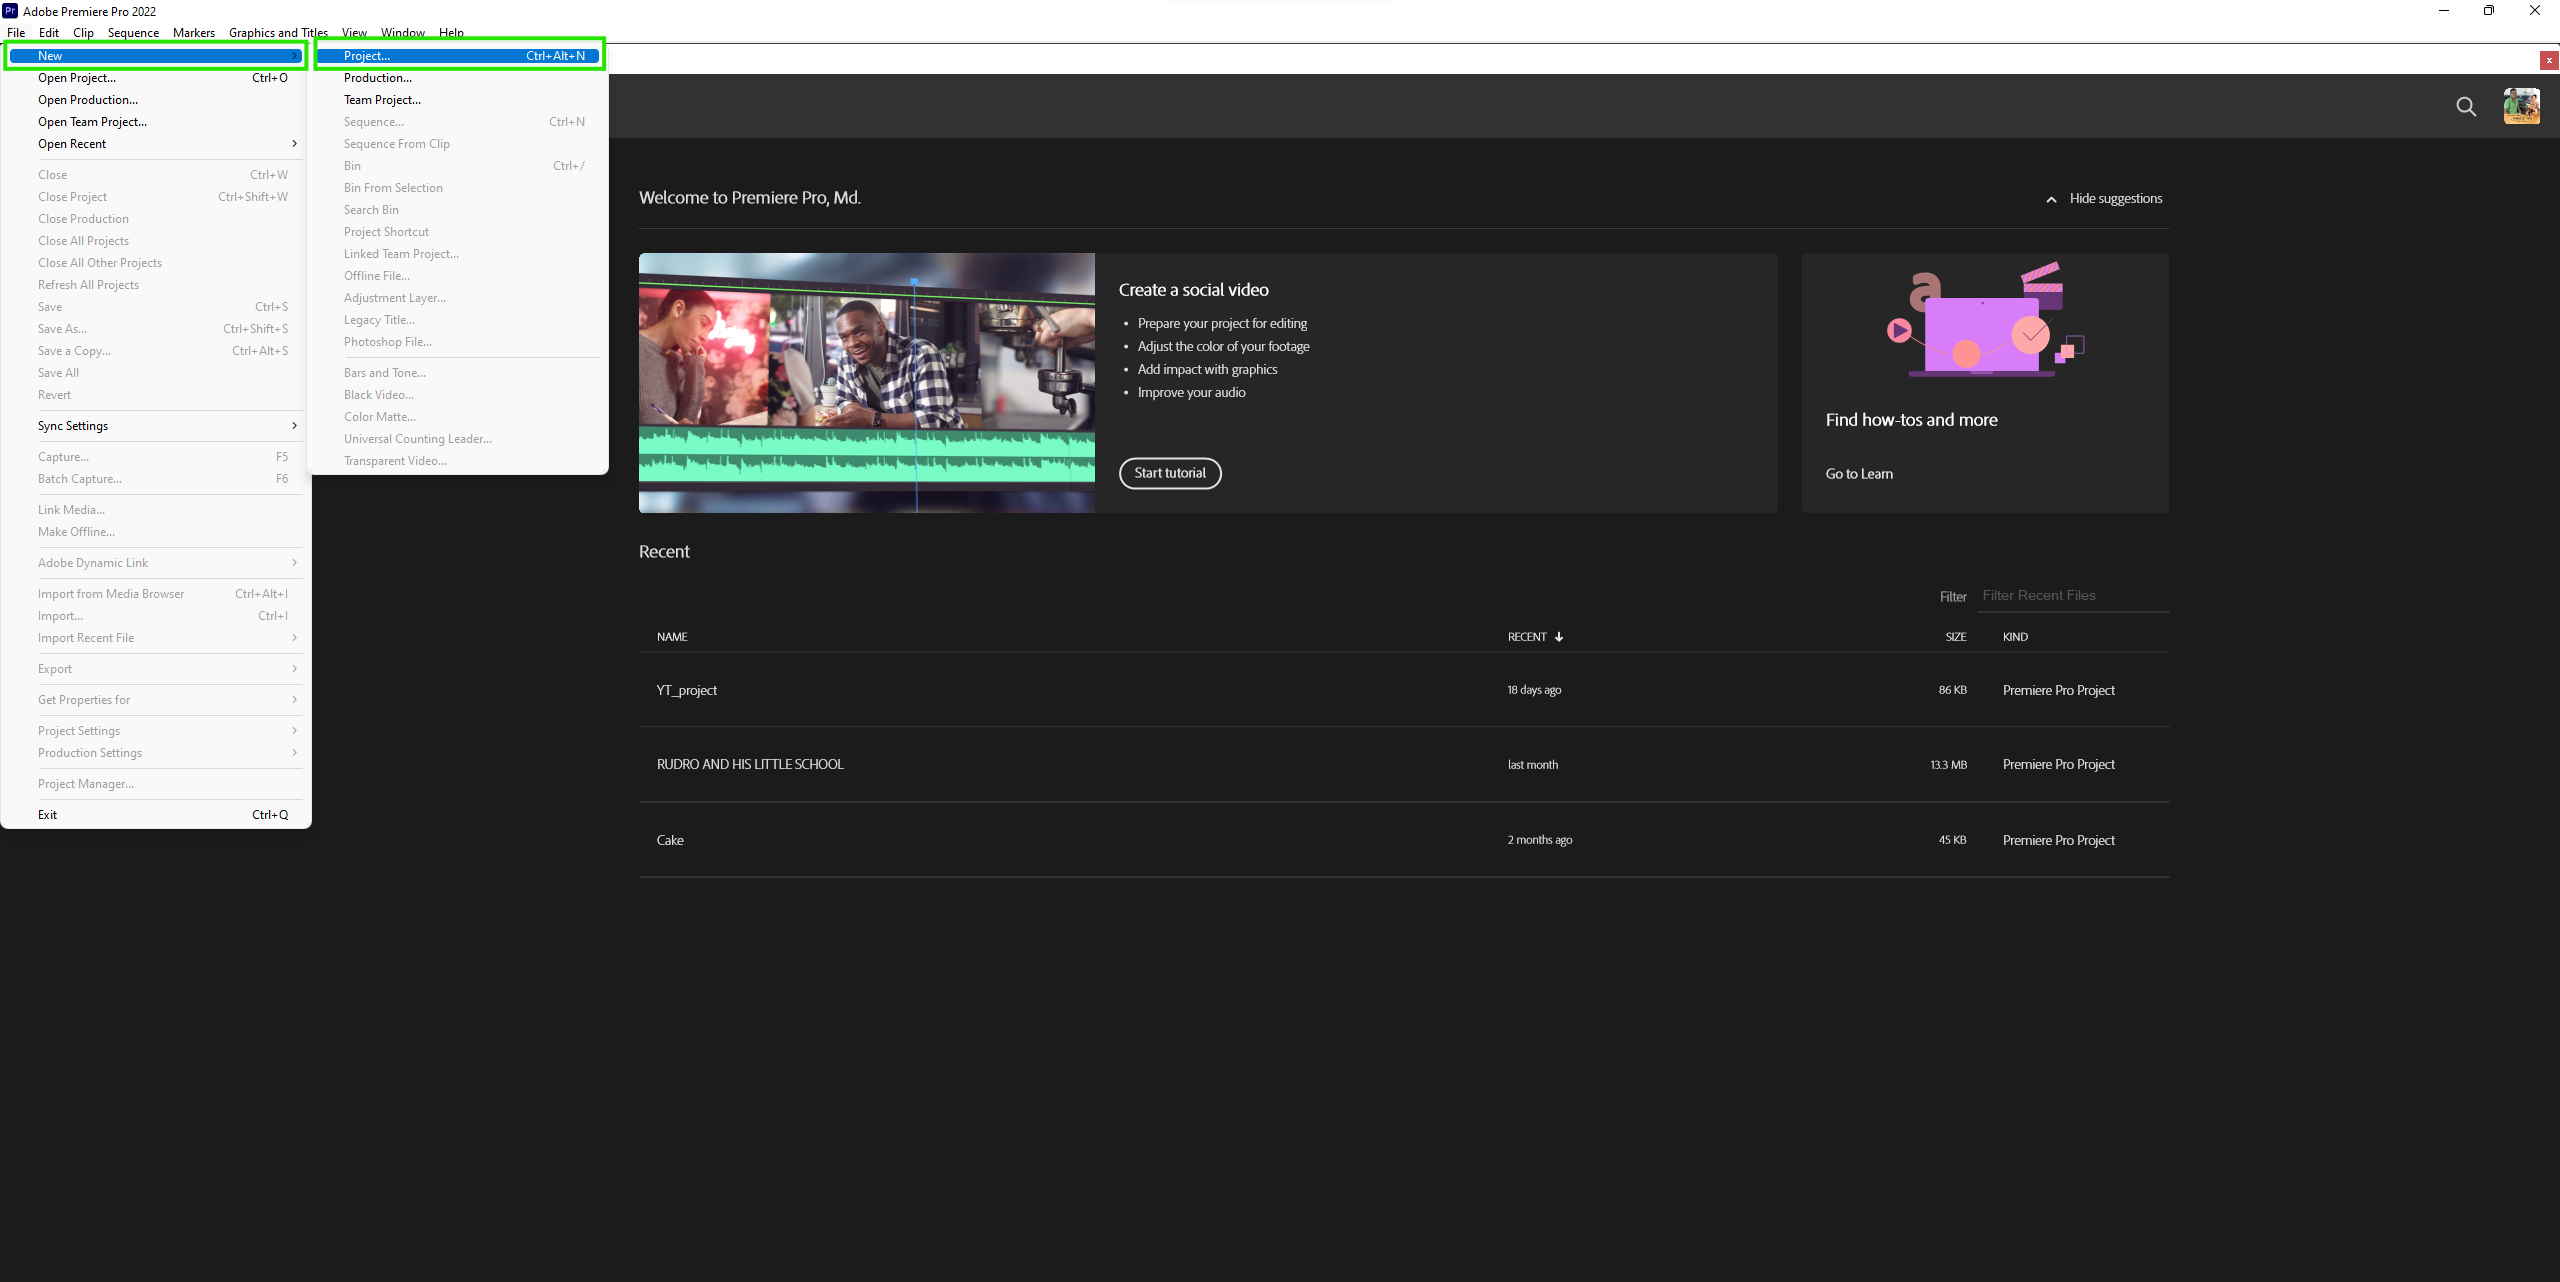
Alright, let’s get going! Open up Premiere Pro, and your screen will look something like this. It might not look exactly like mine. To create your first project, you can either click on “New Project” over here or go to File > New > Project. Either way, let’s get started.
The “New Project” window will open. Let’s give our project a name—let’s call it Tutorial 01. The next step is to specify a destination for the file. Click Browse, and we’ll save our project in a new folder.
Create five sub folders with the following names:
Project
Export
Footage
Audio
GFX
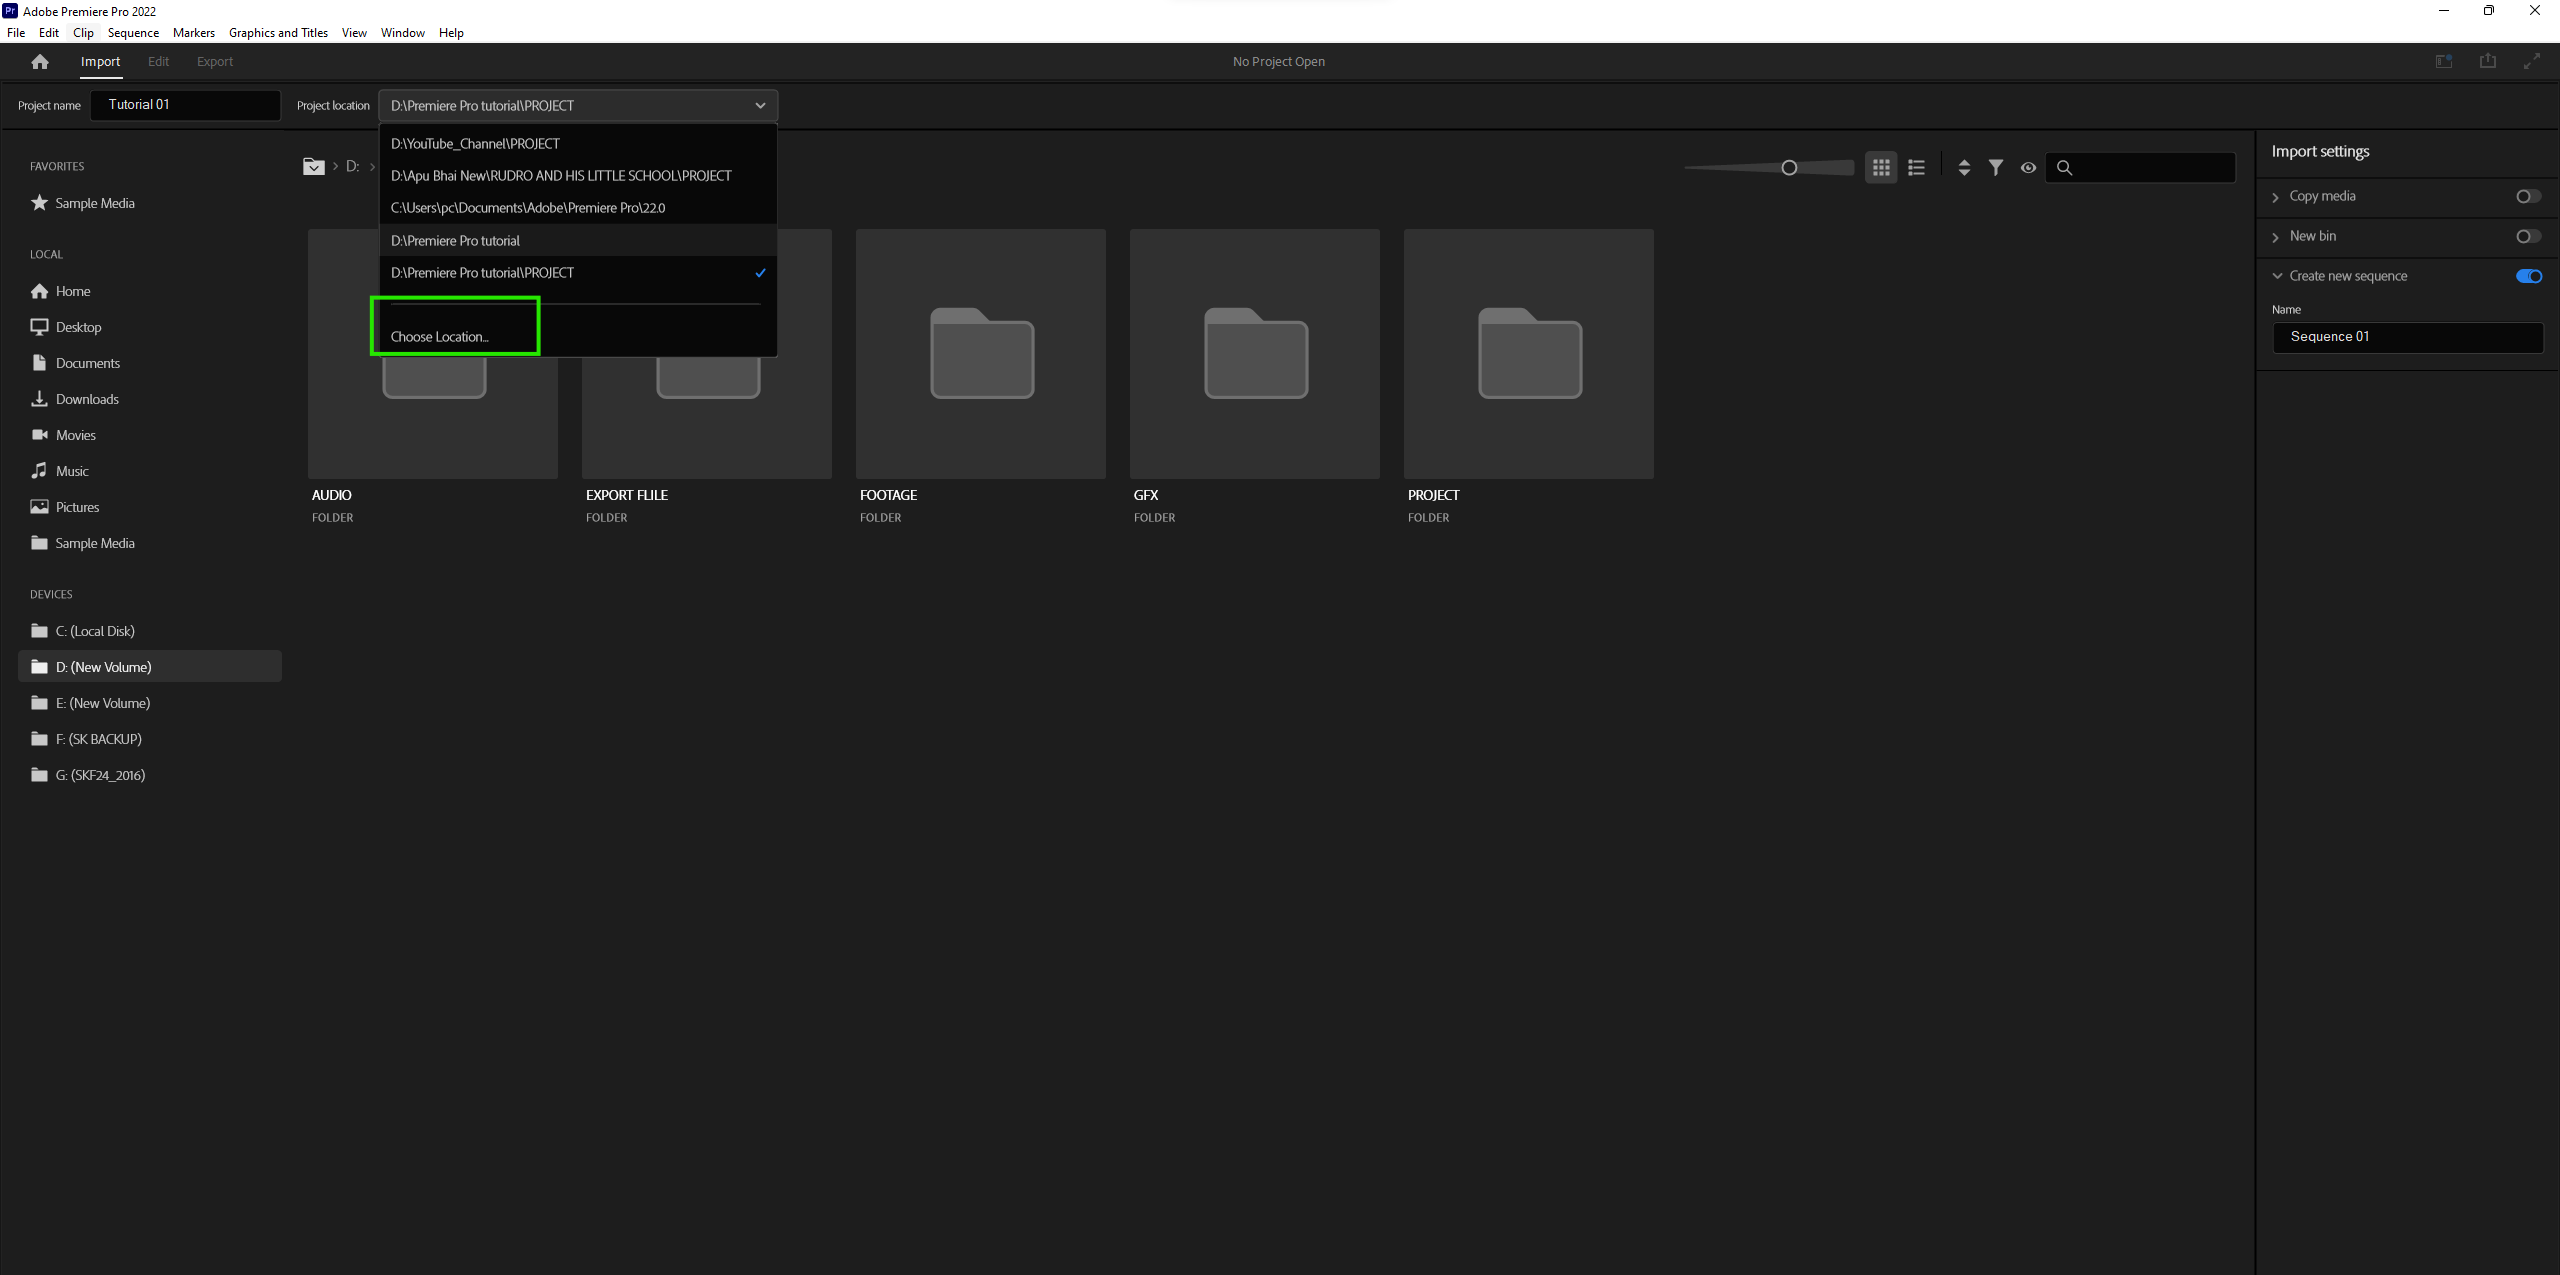
Let’s create a folder named Premiere Pro. Inside that folder, create five sub folders with the following names:
Project
Export
Footage
Audio
GFX
You don’t need to worry about the other scary-looking settings-just click OK.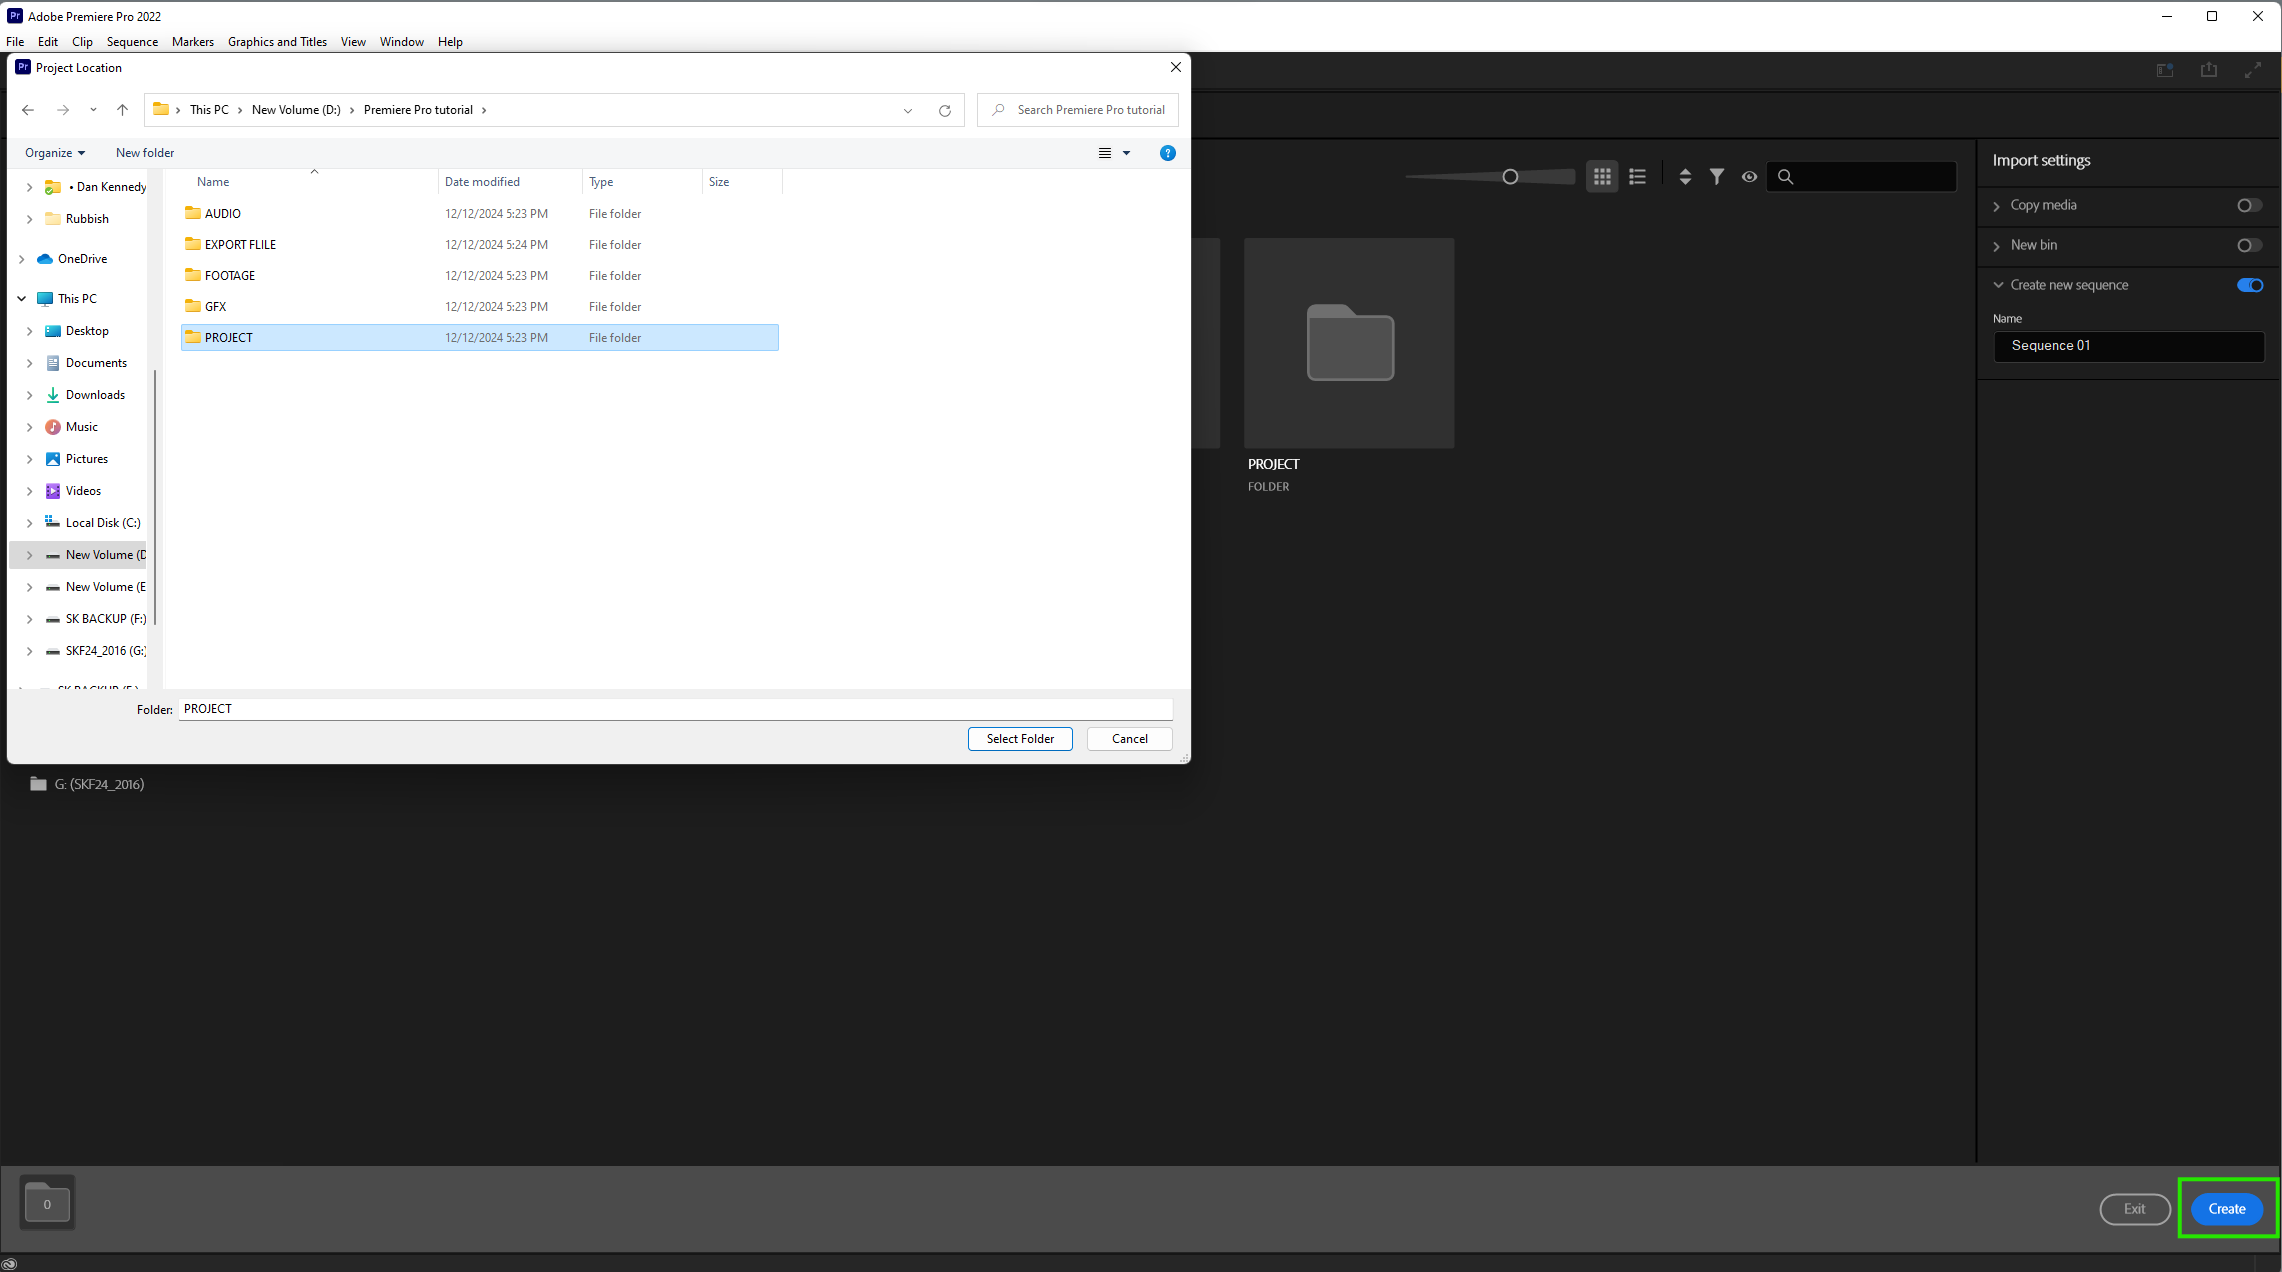
Your Premiere Pro interface might look a bit different from mine. If it does, go to Window > Workspaces and make sure Editing is selected. If it’s not, click it. Then, go to Window > Workspaces > Reset to Saved Layout. This will rearrange everything and get it back to the default layout. That’s a handy trick to remember when you accidentally mess things up and everything looks out of place.

Now, let’s get started by importing some footage.
How to Import Media
Drag and Drop: Drag files directly from your computer into the Project Panel.
File > Import: Go to File > Import and choose the media files you want to use.
Media Browser: Use the Media Browser panel to browse through your computer files and import media directly into the project.
Let’s go to File > Import, navigate to your footage folder, and import the files.
Now let me introduce you to your Project Window. This is where all your files are displayed. Next, we’re going to turn these files into a sequence or a timeline. These terms are often used interchangeably.
Creating a Sequence
You can create a sequence in four ways:

File > New > Sequence

New Item > Sequence
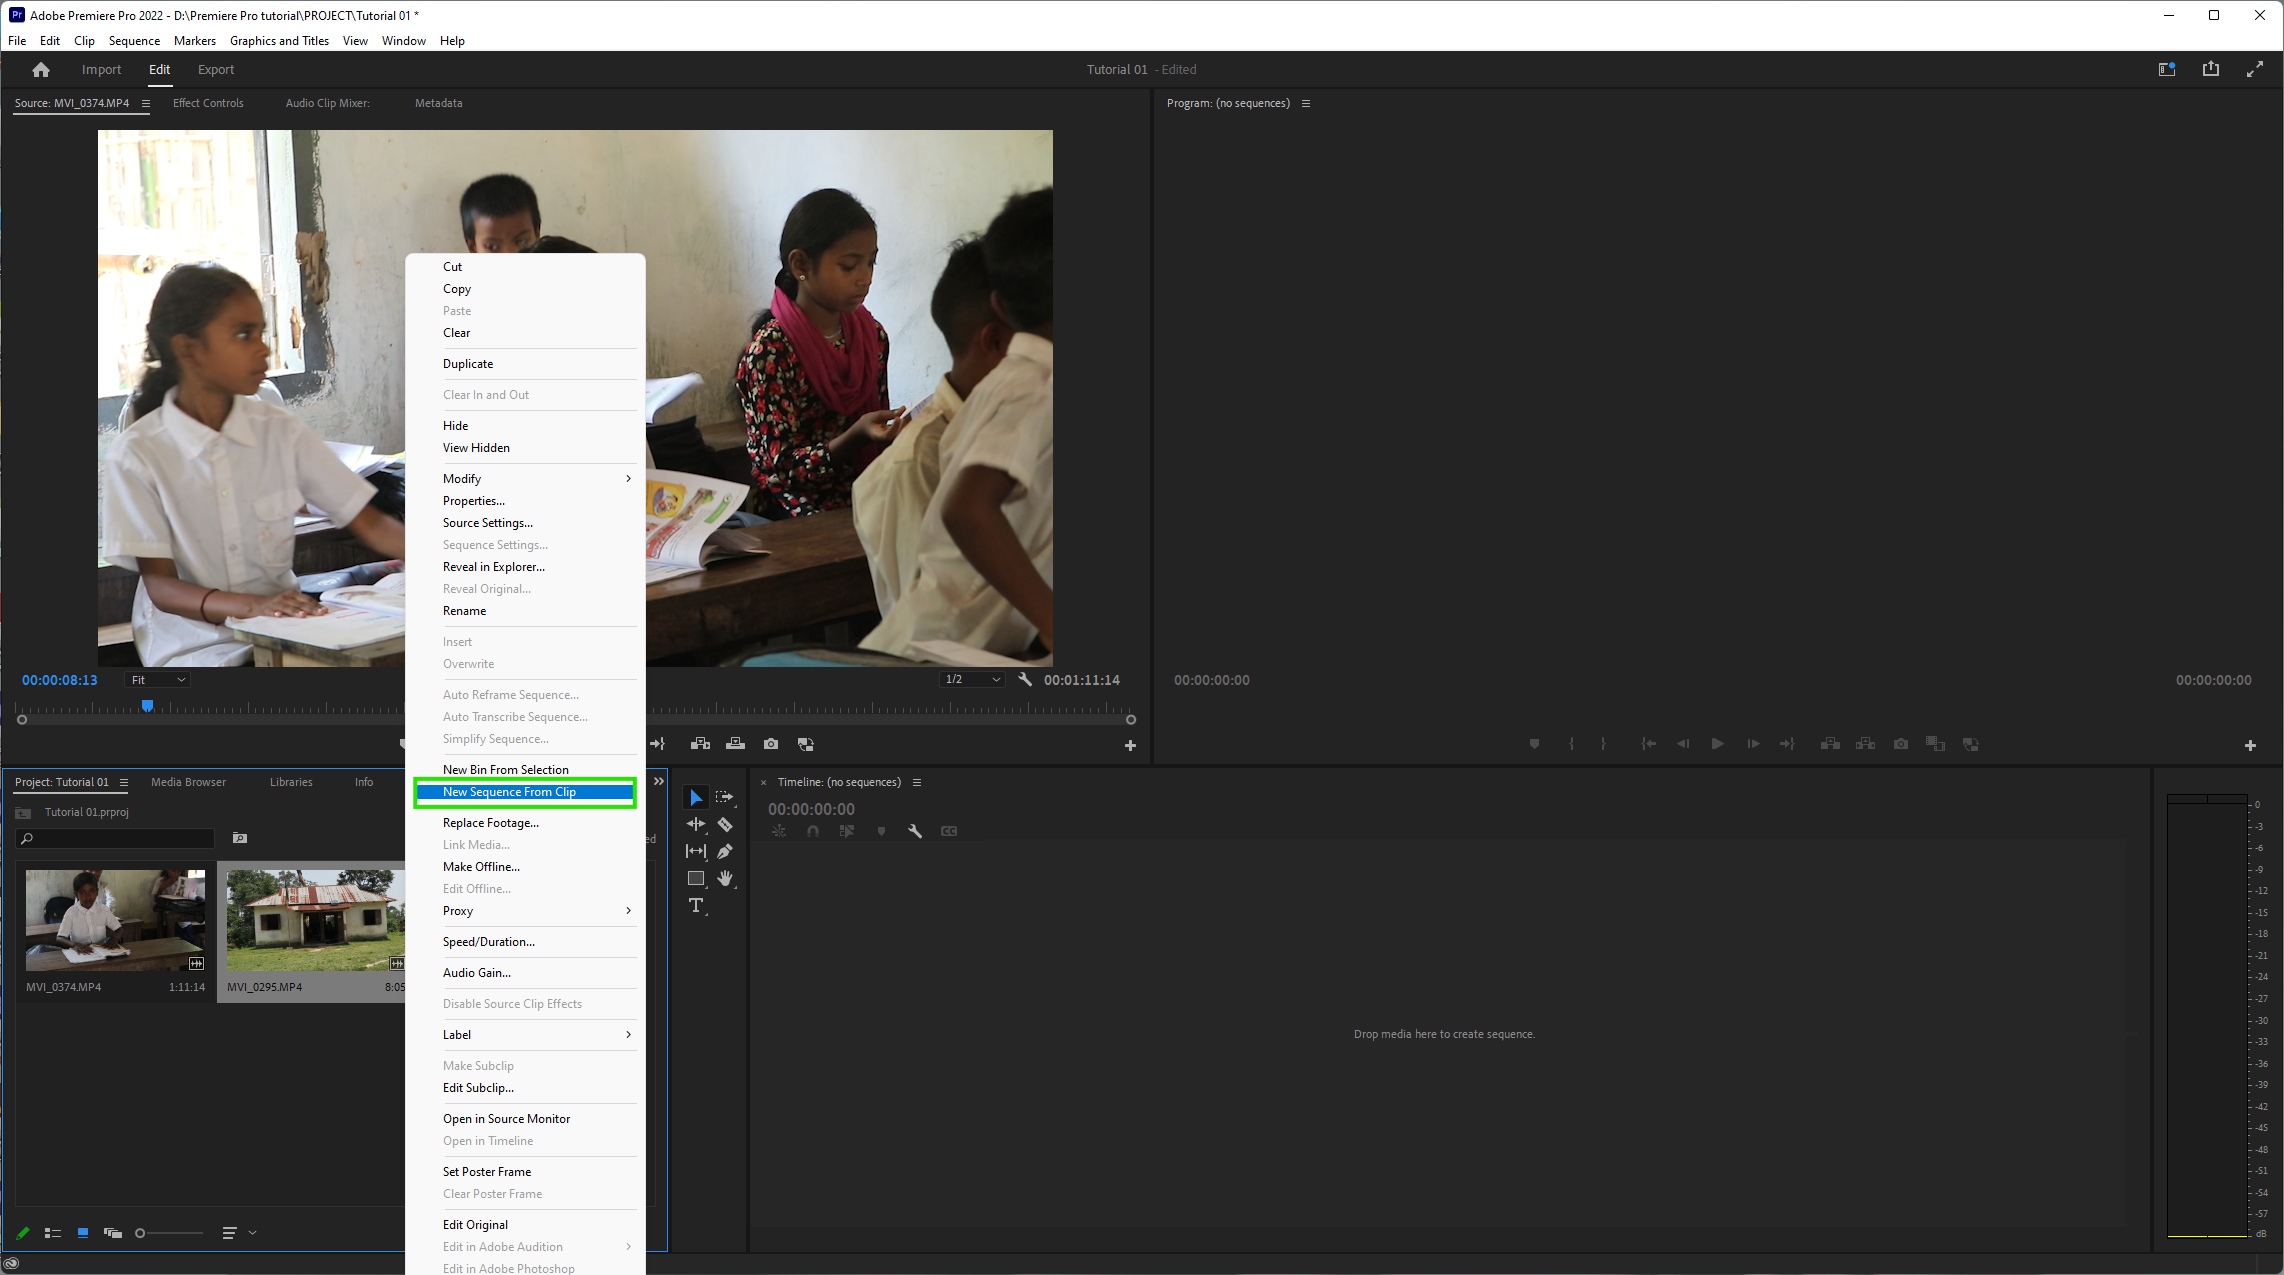
Right-click on a clip and select “New Sequence from Clip.”
 Drag a clip directly into the timeline area.
For this example, let’s drag a clip into the timeline. This action automatically creates a sequence. In the Project Window, you’ll notice that a sequence has been created with the same name as the video, which can be confusing.
 To avoid this, double-click on the sequence name, rename it (e.g., Tutorial 01 Sequence), and hit Enter.
Now you have a sequence with your video on the timeline. Let’s add a second video to the timeline to see how sequences work. Import a second clip (e.g., MVI_0374 Clip) and drag it onto the timeline. Make sure it aligns with the same video and audio tracks to keep things organized. You can adjust it by dragging it until it butts up against the end of the first clip.
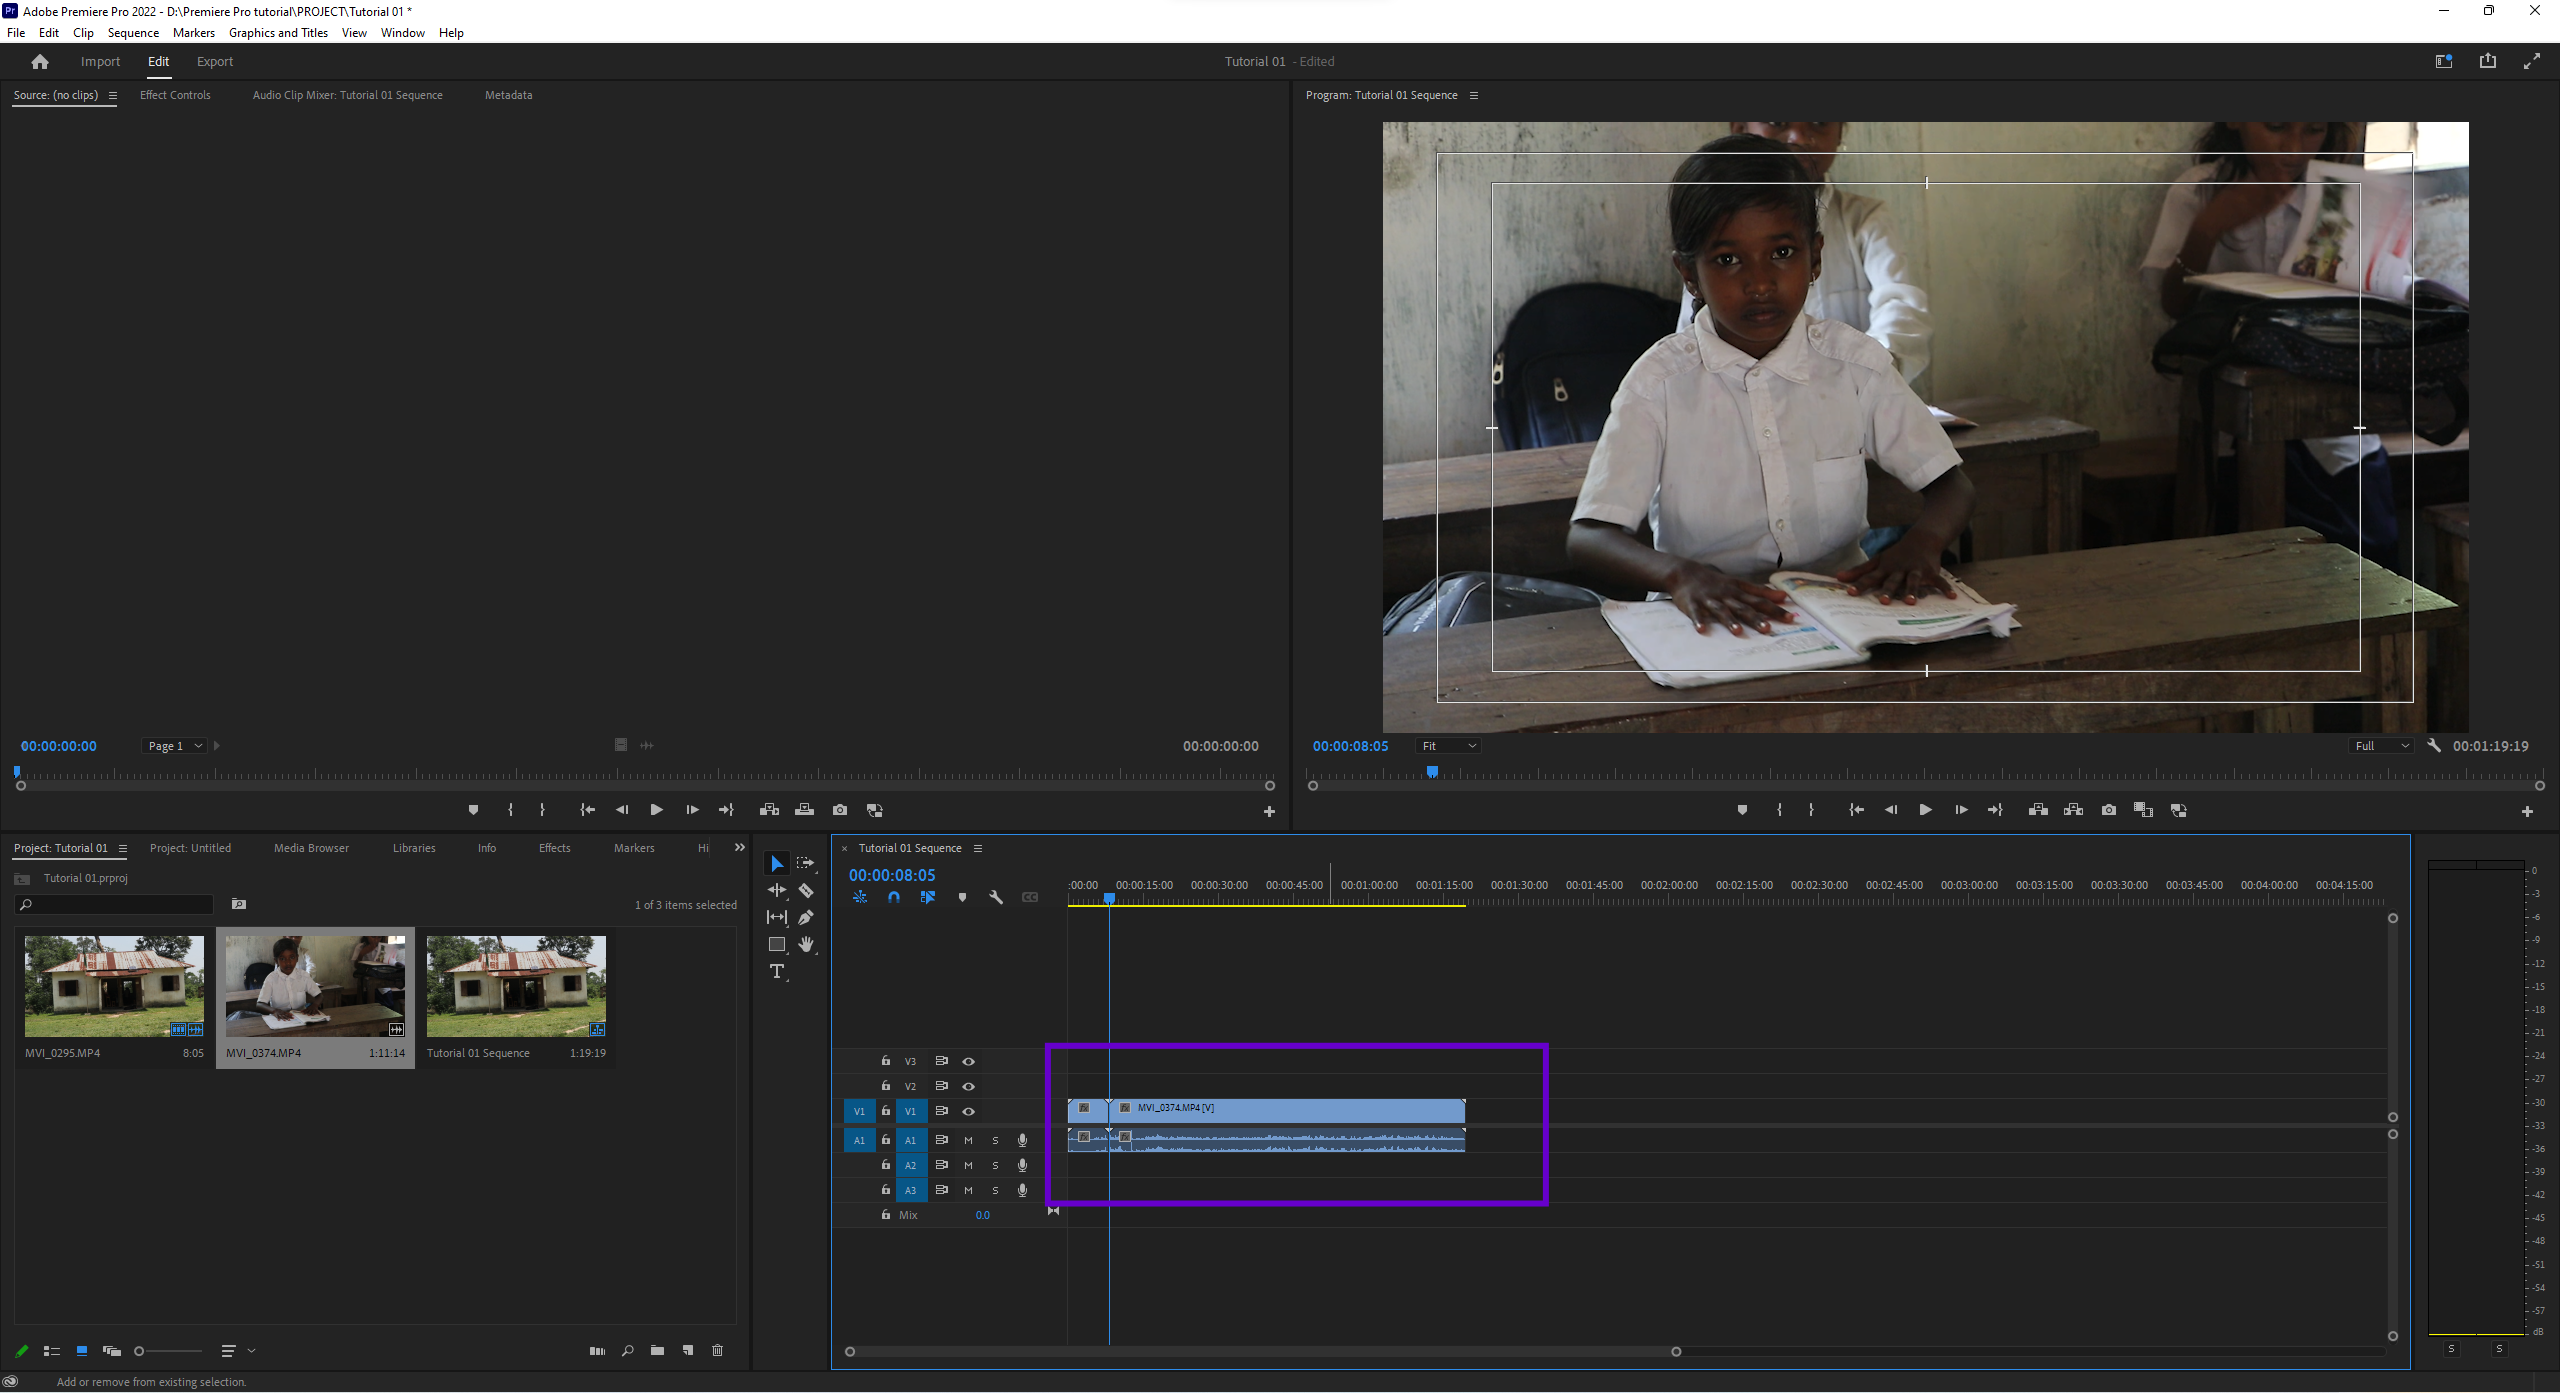
That’s it for the basics! Now you have two videos on your timeline and are ready to start editing. Stay tuned as we dive deeper into Premiere Pro’s tools and features!
